DIY: Wall Organizers + Herb Garden
April 16, 2015

Happy Thursday, everyone! Today, I am bringing you a really fun DIY project that's perfect to make during the weekends. I got this idea from Pinterest and quickly wanted to make it for my small downtown apartment. I love how convenient this wall organizers are and I was surprised at how easy they are to make. The fun part is that you can get creative with it and give it your little own touch. For example, I painted the pots for the herb garden with chalkboard spray paint to be able to identify each herb easily. I also painted some of pipe clamps with gold spray paint to make it look different from the herb garden. Once you get the idea of how to make them, you can start getting creative and add your little touches. Let's get started!
|HERB GARDEN WALL|

FOR THE HERB GARDEN WALL YOU WILL NEED:
Wooden Board (I got mine from Home Depot and asked them to cut it into 25'' pieces)
Clay Pots
Chalk Paint & Chalk (I used the Rust-Oleum Chalk Board Spray Paint)
Hammer, Nails and Screwdriver
Herbs (I'm using basil, mint and cilantro)
1. Use tape to cover the areas of the pots that you want to protect from the chalkboard paint.
2. Paint your pots using the chalkboard spray paint and let it dry for at least 2 hours.
3. While your pots are drying, start working on the wooden boards. Measure your board and mark the areas where you want to place your pots. I left ~2" of space between each pot.
4. Secure the pipe clamps to the wooden board. Do this by hammering the nails through the small holes in the pipe clamp.
5. On the back of the wooden board, secure the D-Ring hangers using a screwdriver.
6. Plant your herbs once the chalkboard paint is completely dry.
Optional: Add extra soil when planting the herbs. I used an organic mix for vegetables and fruits.

7. Place your pots into the pipe clamps and tighten using a screwdriver.
8. Secure a nail into the with a hammer and hang your herb garden! I placed mine in the kitchen, that way I can conveniently use any of the herbs I need when preparing my favorite recipes.


|MASON JAR WALL ORGANIZER|

FOR THE MASON JAR WALL ORGANIZER YOU WILL NEED:
Mason Jars
Wooden Board (I got mine from Home Depot and asked them to cut a 21.5" piece)
Wood Finish Paint (optional, I used it to give the wooden board a darker finish)
Gold Spray Paint
Triangle Ring Hanger
Picture Frame Hanger
Hammer, Nails and Screwdriver
1. Paint the pipe clamps using the gold spray paint. Let it dry for at least 1 hour.
2. Measure your board. Using a pencil, mark the areas where you want to place the jars.
3. Once your pipe clamps are dry, secure them to the wooden board. Do this by hammering the nails through the small holes in the pipe clamp.
4. On the back of the wooden board, secure the triangle ring hangers using a screwdriver.
5. Place your mason jars into the pipe clamps and tighten using a screwdriver.
6. Nail the picture frame into the wall with a hammer and hang your wall organizer! I placed this one in the bathroom to store my makeup brushes and toothbrush. I added flowers in the middle for a decorative touch, but remember that you can give it your own twist and add what works best for you.

Insta Recap
April 10, 2015

I had to snag a picture with this! I love this city!
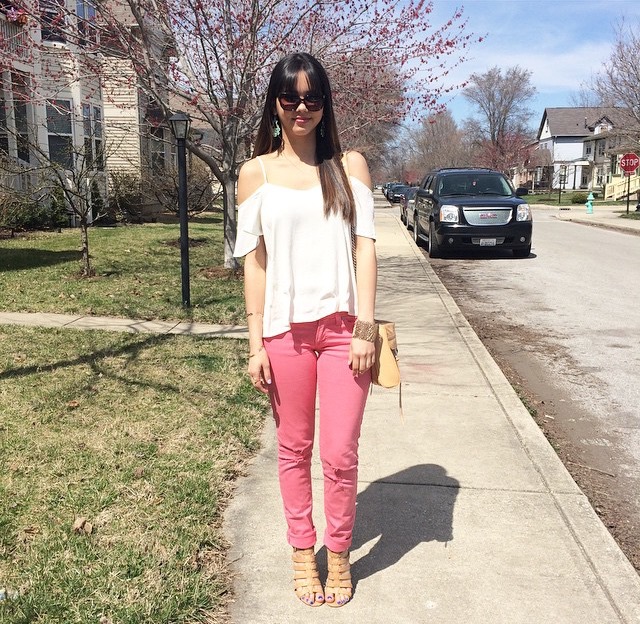
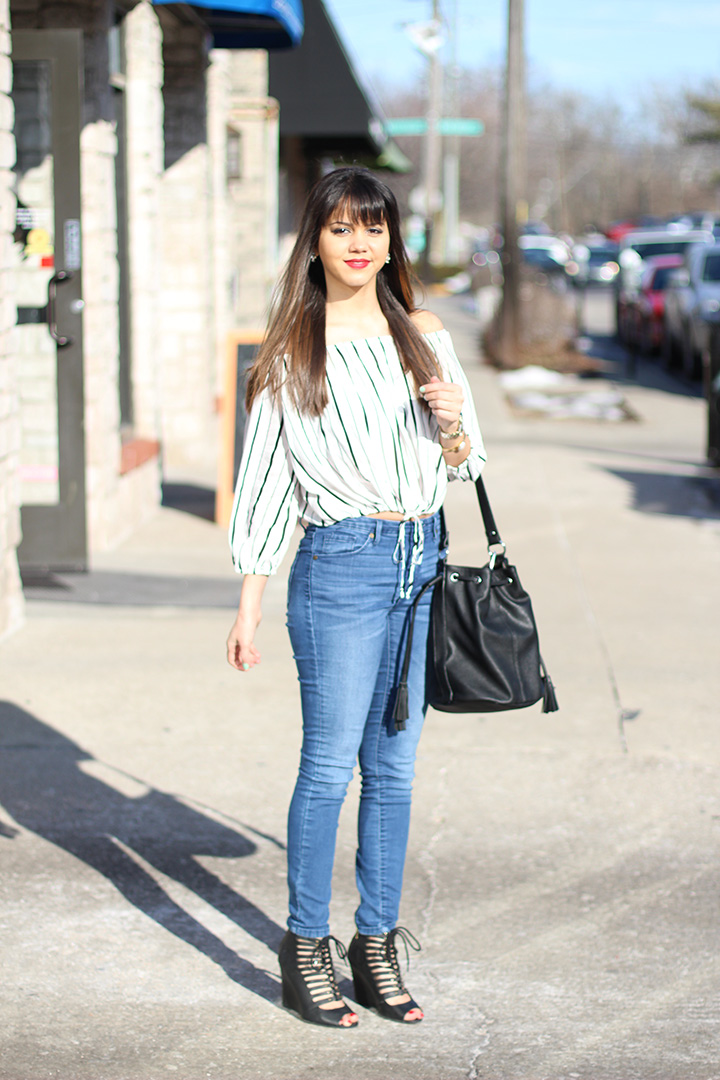
My Easter Day outfit. I kept it casual with a pair of coral jeans and my favorite off-the-shoulder blouse. I love how easy to style this blouse is! Just throw on a pair of jeans and you'll instantly look chic and put together. The one I am wearing is currently sold out, but I found a very similar one here.

Home inspo from Pinterest. It's all about the little details!

A simple quote with a powerful meaning to get me through the week.

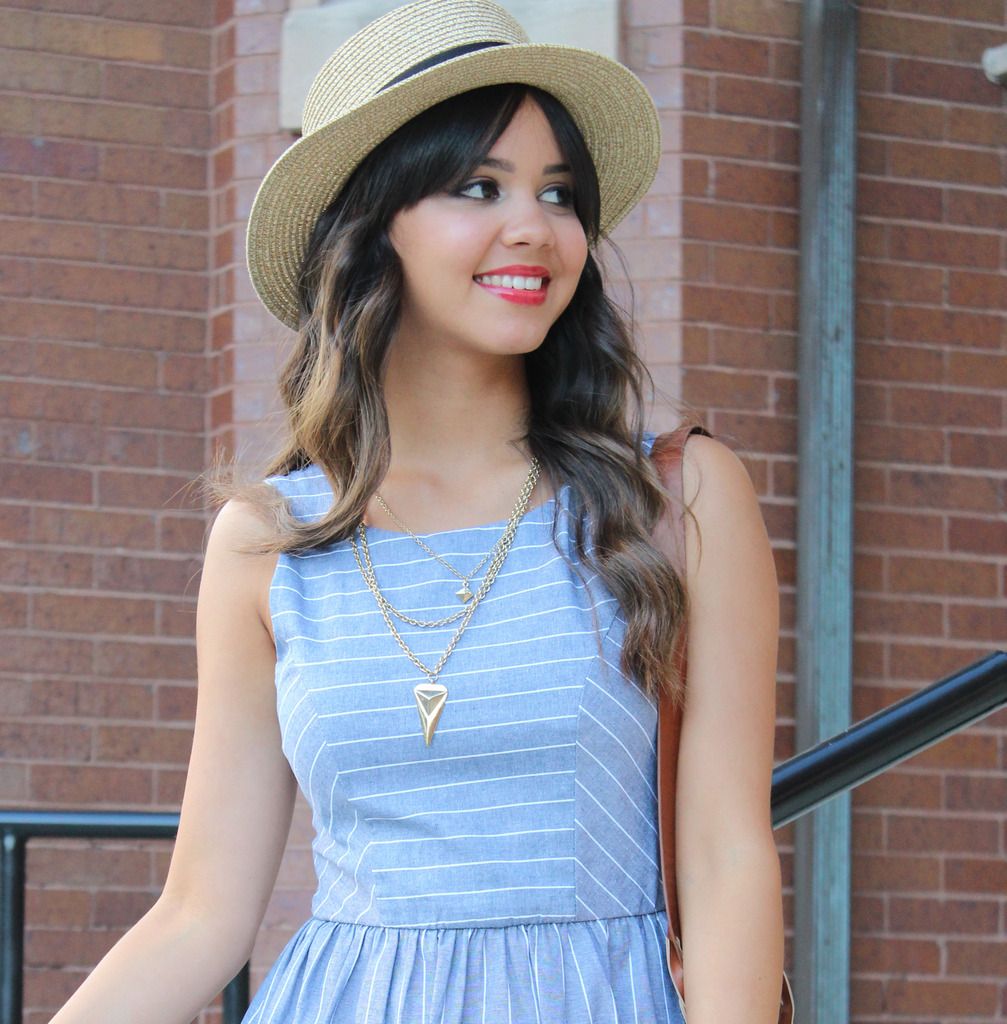
Selfie time to celebrate that the weekend is finally here! PS. How cute is this necklace from Rocksbox? Use code dfernandezxoxo to get your first set for free!
Hope you enjoyed this little Instagram Recap! I wish you all an amazing and happy weekend!


Trendy Tuesday: Off-The-Shoulder
April 7, 2015

Shop The Blouses:

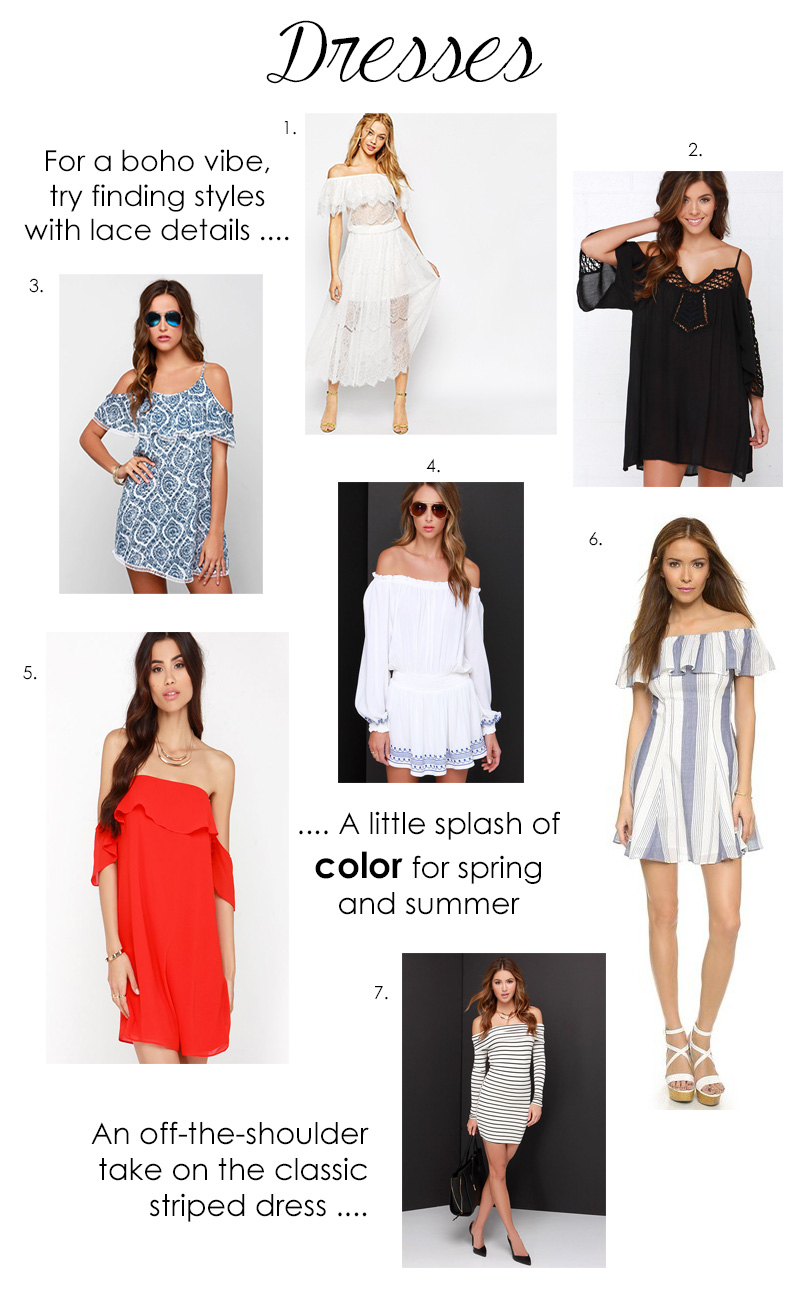
Shop The Dresses:

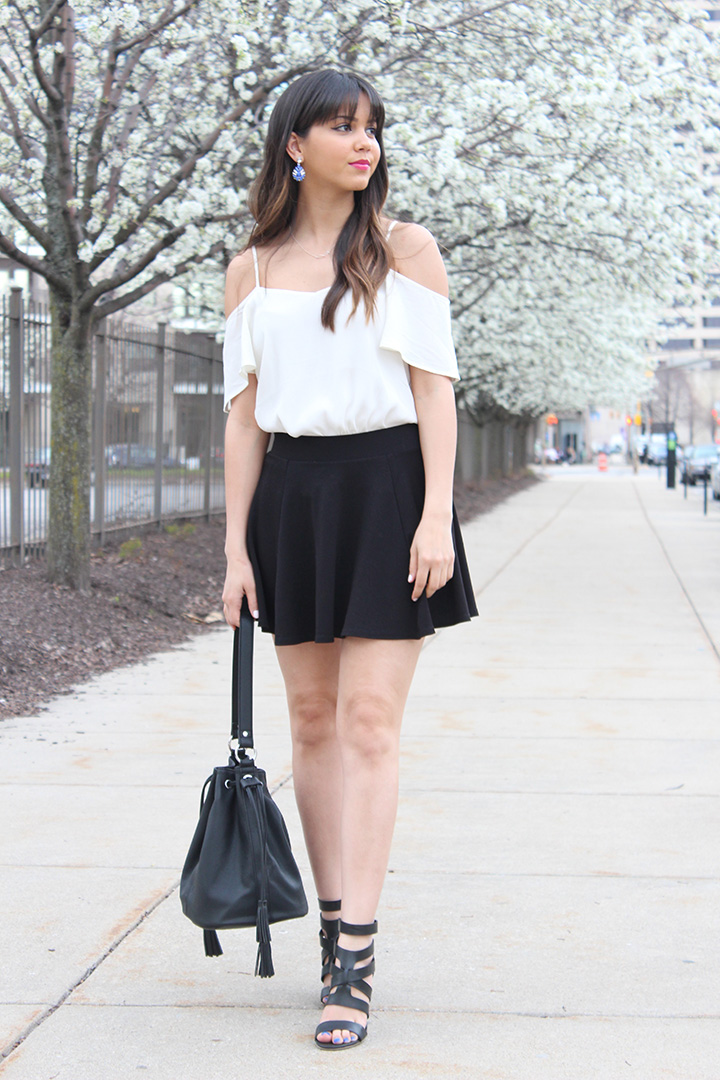
I am sure you guys have noticed that the off-the-shoulder trend is here to stay for this spring and summer. I personally love this trend and I am sure it's going to be great when the weather starts to get really warm. There's something about an off-the-shoulder piece that instantly makes you feel very sexy and chic.
I hope you enjoyed this little round up of my favorite items, and hopefully you found some inspiration to start rocking the off-the-shoulder trend!
----------
Estoy segura que ya han notado el gran impacto que ha tenido la tendencia de los hombros expuestos para esta primavera y verano. A mi personalmente me gusta muchísimo la tendencia y estoy segura que se volverá mucho más popular durante los calurosos meses de verano. Hay algo en las piezas con los hombros expuestos que instantáneamente te hace sentir más sexy y coqueta.
Espero que este post con mis piezas favoritas les sea útil, y que les provea un poco de inspiración para comenzar a incorporar esta tendencia en sus looks.